


 Funktional18
Oval Foundation Rings
Two Foundation Ovals Both are based on 24 sided triangle-circles, one using full , the other half walls enjoy
- 138 Strukturen
- 2 Gebäude
- 0 Likes
Browse and download community building templates
Funktional18Two Foundation Ovals Both are based on 24 sided triangle-circles, one using full , the other half walls enjoy
 Keine VorschauSonstiges45
 Keine VorschauBasen46
 Basen8
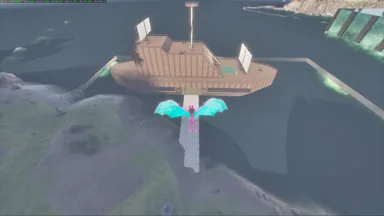
When doing this make sure you place foundations to cover the whole land under it. Then place a stack of pillars to desired water height. and place on top. This will make it look like its floating on the water for you. It has two rooms and plenty of space for everything. Open area in back was going to be made for Greenhouse. For some reason even after selecting it and everything was highlighted the template didnt not save the very end on either side easy to close up as well. The base saves at 1650 pieces but only place a template for 1548. easy fix when ur building it. I tried it 6 times same results
 Deko18
 Keine VorschauPvP46Keine VorschauBasen46Keine VorschauPvP45Keine VorschauFunktional14
 Basen8
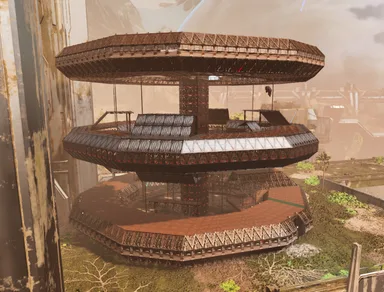
The base itself is located on Extinction at coordinates 49.8, 60.0. Please ignore the paint in the pictures, as those colors were simply markers I used while creating the templates. If you have yet to complete Ring 1, go there and do that before starting here. RING 2 Step 10: TEC Ring 2 x2 Bridge Entryways This one is fairly self-explanatory. However, because ARK is ARK, you'll need to manually place all the floor ceilings and some of the roof pieces. Step 11: Ring 2 Bottom Ceilings Again, pretty self-explanatory! You'll need to place the floor ceilings manually, just like you did for Ring 1. Step 12: TEC Ring 2 x2 Landing Zone A This is one of the flier landing zones for Ring 2. Landing Zone A connects to the second landing zone and a bridge entryway. Step 13: TEC Ring 2 x2 Landing Zone B This is the second flier landing zone for Ring 2. It connects to the bridge entryway. Once Ring 2 is finished, you can move on to Ring 3 if you're a madman who somehow enjoys grinds like this. RING 3 Step 14: TEC Ring 3 x2 Bridge Entryways Pretty self-explanatory! Place the two bridge entryway sections. Step 15: Ring 3 Bottom Ceilings Because the game can't handle most these templates properly, you'll probably need to place the bottom "foundation" ceilings manually, just as you did for Rings 1 and 2. Step 16: TEC Ring 3 x2 Hallways Also fairly self-explanatory! Place these hallway sections between the two bridge entryways to connect them.
 Farmen18
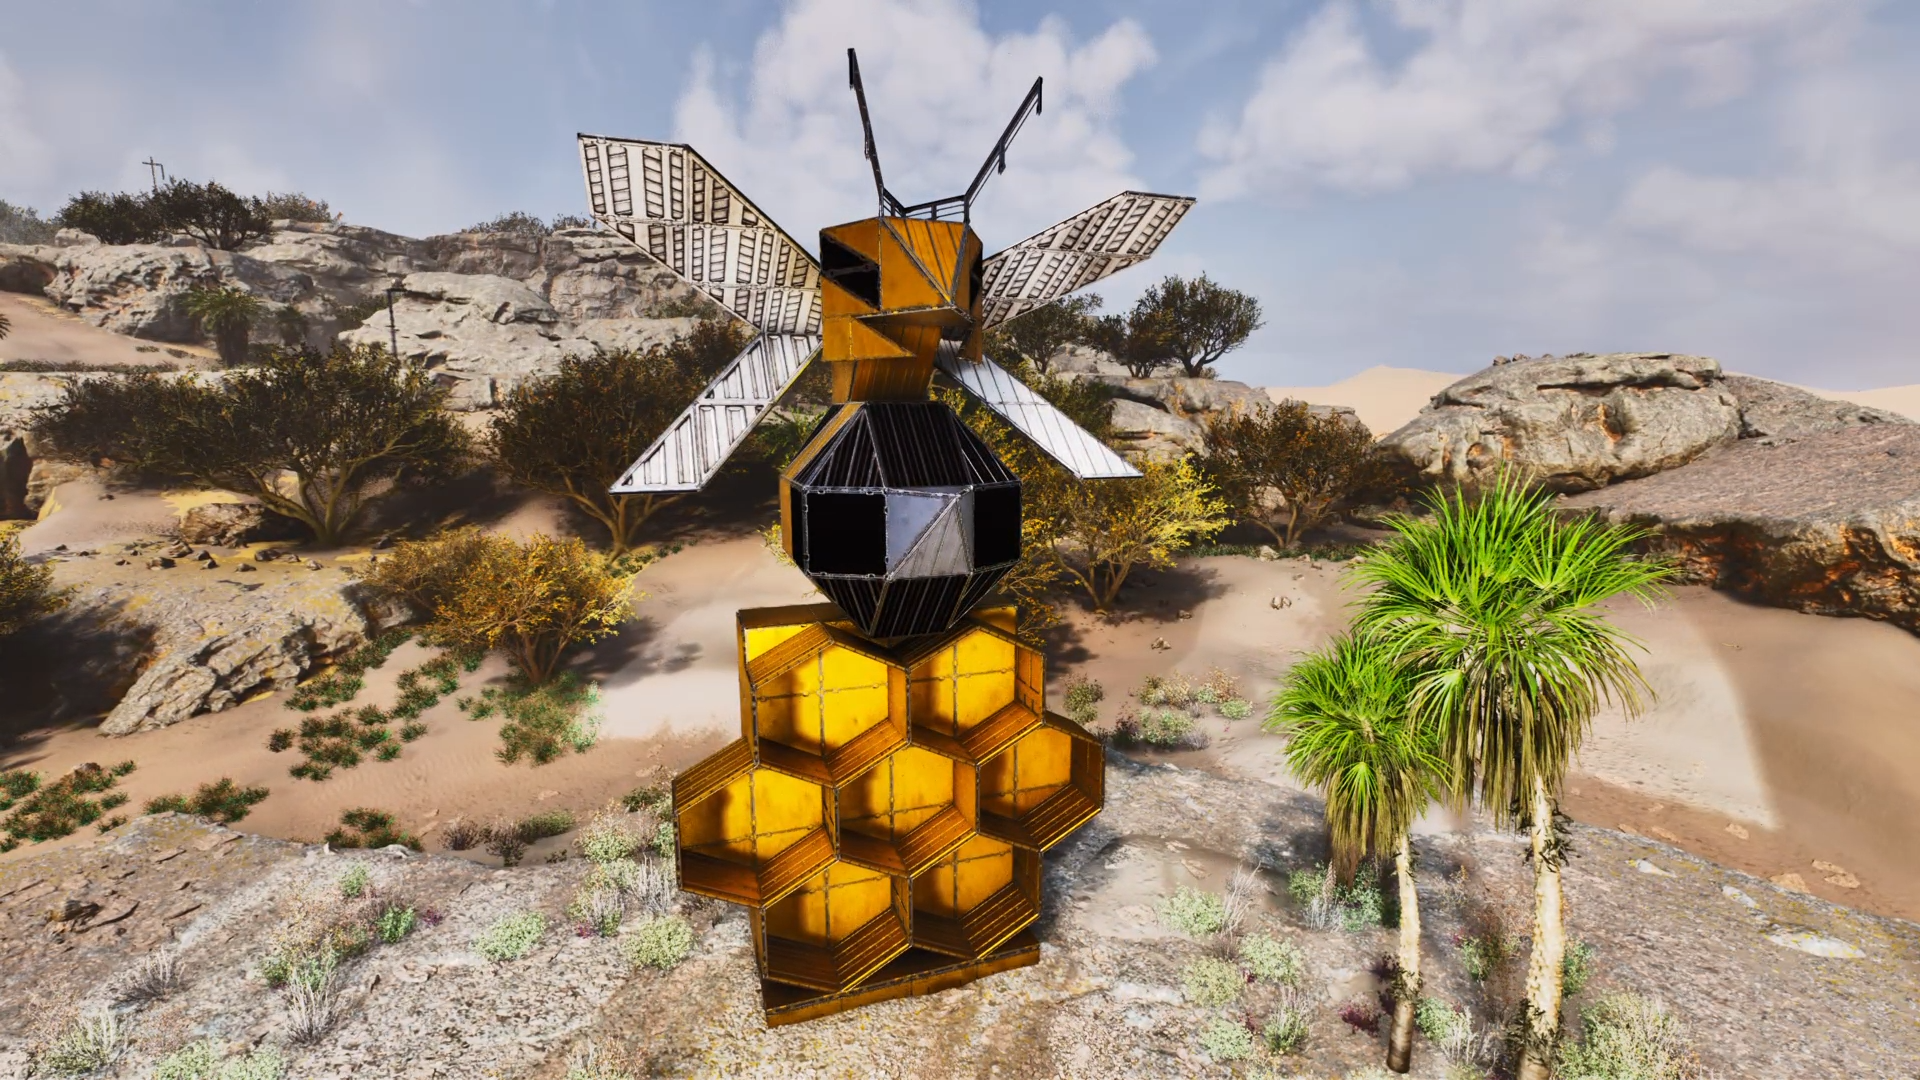
English↓ I’m the yokai VTuber, Tsukumo no Oichi! This is the "Big Beehive"—a structure designed primarily to house honeybee hives! You can place it as a standalone unit or as an extension to your existing base. Feel free to customize it however you like—add skins, expand the structure, and make it your own! 日本語↓ いったんジャストもーめーん!妖怪VTuberのつくものお壱じゃぞ! 今回は主にミツバチの巣を設置するための建造物、「BigBeeHive」のテンプレートを紹介じゃ! 単独で置くことも、拠点の一角にスナップして増設する形で置くこともできるぞ!スナップはすでに置いてあるご自身の拠点の四角土台に合わせるとうまく置けると思うのじゃ!スキンを貼ったり増築したり、好きなようにカスタムしてお使いくだされ!
 Funktional17
this places four 90° Foundation around a central Pillar the foundations are turned clockwise & then flipped "nose down" if this is glued to a 90° Foundation, it will give us normal back & even upside-down! (wich means, this tool lets us freely flip back & forth, perfectly aligned!) all these angles can be interconnected & held up with pillars & beams, at any angle! enjoy
 Basen7
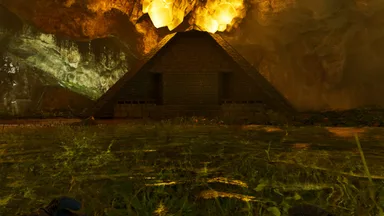
A pyramid with a semi-flat top for flier landing, and sloped sides for ease of going up and down. Two floors with stairs to the top of the pyramid. Skin used is 'Elven Structures.'
 Basen7
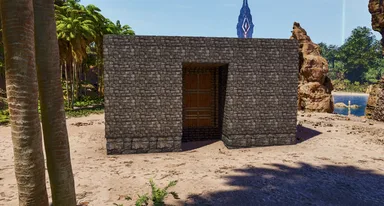
Stone Reinforced Starter Base with 411 structures to get you and your tribe established with room above for crafting and storage! ALL DESIGNS ARE DONE BY ME FROM SCRATCH SO PLEASE RESPECT THAT AND CREDIT ME FOR ANY CHNAGES AND RE-UPLOADS! Thank YOU! ALL SUPPORT IS APPRECAITED! Feel Free to join my Chill Long term server for Ark Survival with PVP/PVE normal base rates with a few mods! I'm active most of the time in the server so any issues let me know or join our ARK SERVER DISCORD LINKED BELOW! Thanks Ark Community! Enjoy!
 Deko17Keine VorschauBasen33Keine VorschauBasen42Keine VorschauBasen43
Medium size AIO house with lot of storage space, lot of different benches and more ^^ Any advice and/or comment welcome!! =D
Keine VorschauBasen42Keine VorschauPvP43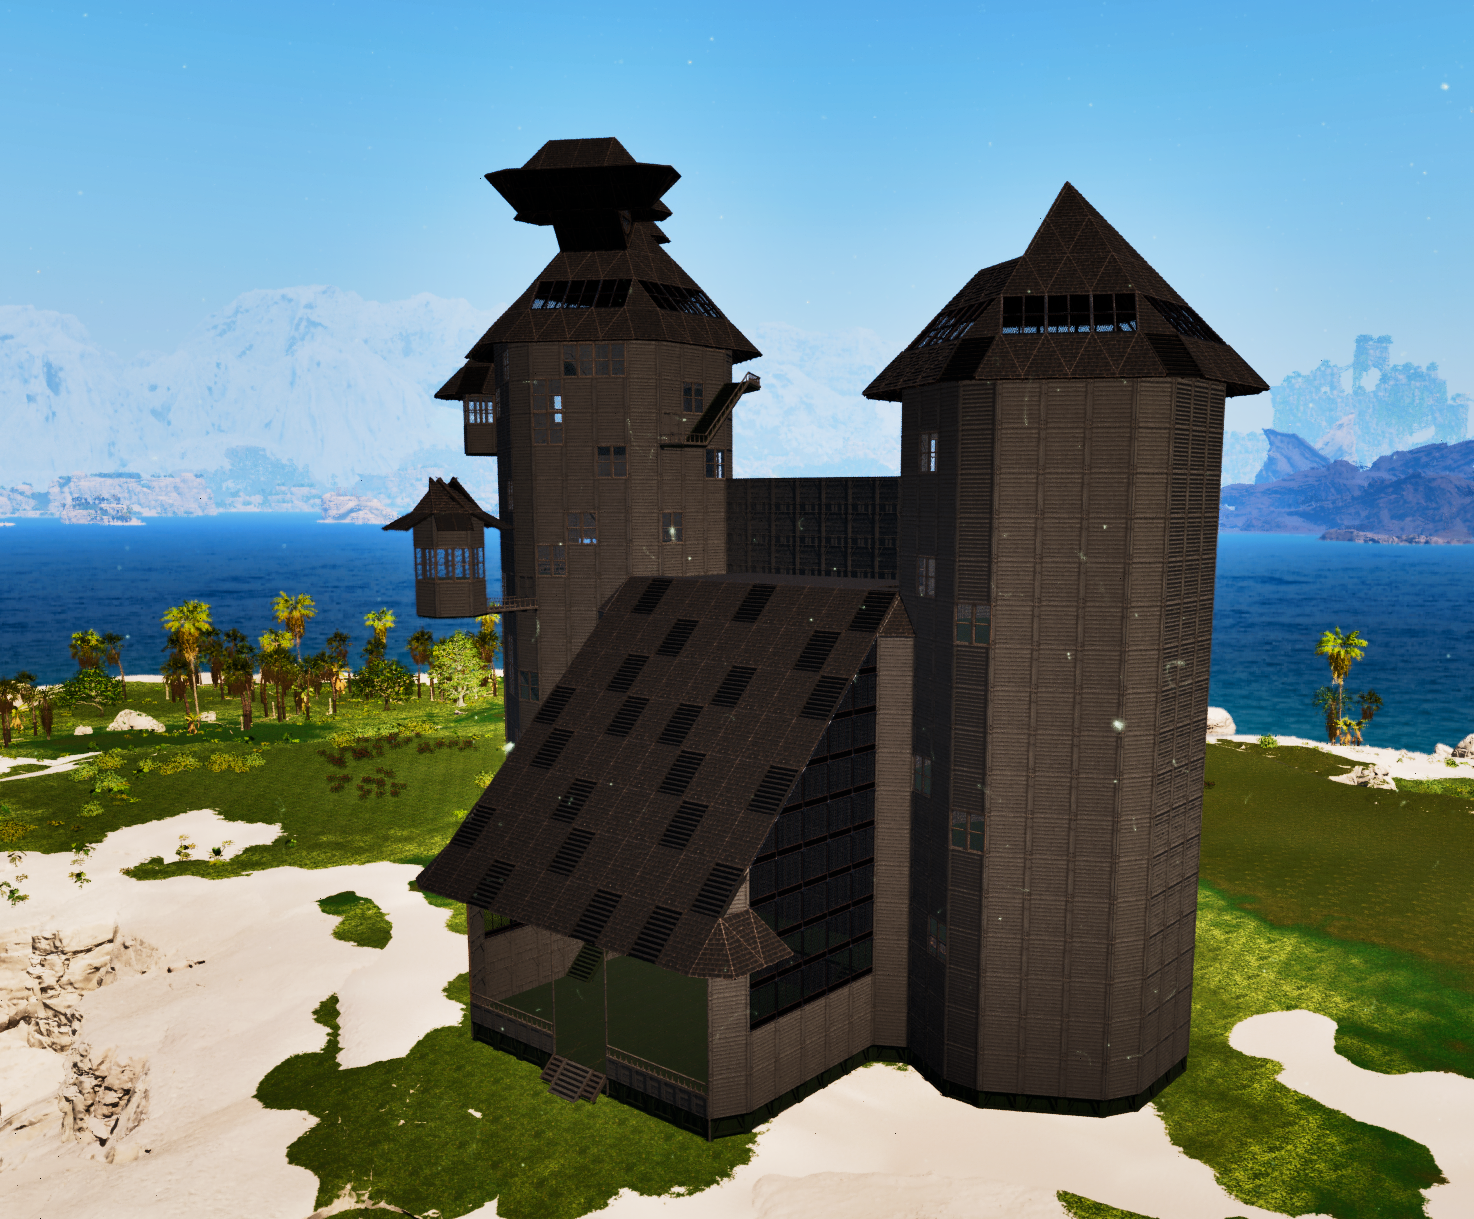 Basen7
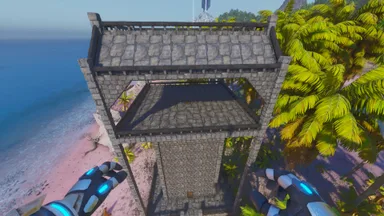
This build is primarily meant for players who like grinding, theres LOTS of wood and greenhouse structures so... Have fun! Pics 1 and 2 show the Patio(P1) and the Greenhouse/pool(P2), the closest tower is the "Right Tower", and yes, you have to place it in this specific way.(the tower placements I mean) TCMCK Center, houses greenhouse, pool, and patio w/ a central walkway between the two towers. Start here, end wherever you feel like. TCMCK Left Tower, Larger tower in the Build, Place to the LEFT of the "Center" Template(Left looking at the Patio) TCMCK Left Tower Roof, I attempted to get it to properly work in the template for the LT, but it refused to stay in the template, despite it grabbing the roof when I copied. TCMCK Right Tower, Smaller tower in the Build, place to the RIGHT of the "Center" Template(Left looking at the Patio) TCMCK Right Tower Roof, I attempted to get it to properly work in the template for the RT, but it refused to stay in the template, despite it grabbing the roof when I copied. Tested and functional in Single Player and my personal cluster, The Veridian Isles(PVE). Skins and Paint: PC controls below; console controls may differ. HOLD E to apply skins as structures are built. Do NOT use the “Apply Skins” Feature, I know it says "Template Skins" but this applies Frontier(or any) skins to the entire build indiscriminately. Hold E(or the console equivalent button) and let it apply skins during construction to preserve my original skin design. You may need to finesse some structures during placement. Placing the Towers: Place 10 foundations connecting the tower template's walkway to the Center template's central walkway (between the greenhouse/pool and patio). Rotate and/or flip the tower until the doorway and walls align correctly. For the Towers, I tried six rotations before finding the correct snap point on the seventh attempt. I flipped it once and looked at the center foundation of the three connected to the Center's central walkway. Your results may vary. Be sure to remove the pillar in the middle of the template at the top of the larger(Left) Tower. Switch the Template Hammer to Alter Mode, then disable the 10 temporary foundations. You can now build from the aligned template. Auto-Build: Auto-Build may report missing structures. This is expected: Left Tower: 1,667/1,677 structures Right Tower: 1,361/1,371 structures Select Complete. Do NOT click apply skins when it asks you after; apply them as structures are built (see above). The rooves are separate templates. Left Tower Roof: Go to the top floor and reach the second set of stairs before the attic. Look across at the top of the center wall. A greenhouse wall should be immediately to its left, touching a corner. Enter Orbital Camera on PC (IIRC, Orbital is a temporary or non-existent thing on console). Rotate the template until all roof corners cover the tower's edges. The correct placement should be Snap Point #18. If needed, place a few ceilings and try attaching the roof template to them until all edges are covered. Right Tower Roof: Place triangle ceilings on the roof facing the Left Tower/Center building, then stand on them. Face away from the Left Tower/Center building. Look toward the pointed edge of the center triangle ceiling, near the side touching the third triangle ceiling from the left. Use the row with 7 triangle ceilings across, not the row with 5. I got it after a few attempts on Snap Point #2. Reposition yourself as needed. Manual alternative: Use 12 Wood Triangle Ceilings, 2 Wood Walls, and 4 Wood Corner Walls. Apply Frontier skins to all; the two corner walls above the two regular walls should use Frontier Glass. Finish the pointed top with Wood Triangle Roofs & Ceilings. Building Location: You need a flat or mostly flat area with enough room for the entire build. Originally built around 48, 90 on Astraeos, then rebuilt at 59.9, 36.6 (the exact center of the build, shown in the pictures). Paint Colors Colors Used: Swamp Green: Foundations, tower interior ceilings, stairs. Gunmetal: Walls and railings. Black: Roofs and exterior ceilings. Important: Painting a structure increases its structure-count cost by 6× for you and the server. For example, five foundations with one painted count as "10" structures, as painted bases cost more resources on hardware. Keep this in mind when building. Final Notes: The unusual shapes on top are decorative, not required for functionality. They're there to make the build look crooked and strange as it's the Crooked Man's home, after all! Feel free to change the colors, skins, or create your own rendition. Enjoy my first piece of creativity!(ive never once had creativity in ark lol, so this is my first actually creative build.)
 Basen6
Tetraeder Creation Toolset These 2 "Tools" are all YOU need to create 70.5° Tetraeder's ANYWHERE! (4 sided "Pyramids" build from ONLY Triangles) - Just build a Triangle at whatever Size you want(up to around ~50,then you reach the max Height limit in ARK) - Use a small Wall (to guarantee snap Direction), glue the 70.5° Flipper to it & build the one Foundation, that has the "Floor" facing outward - Add some Triangle Ceilings to that Foundation & catch the Angle with a (thin)Pillar !!![make sure there is NOTHING above the Pillar on placing & it doesnt touch the Foundation, or you might end up with a "not-Foundation" Pillar]!!! - Add a (thin)Beam to the 70.5° Ceiling to glue the Floor & the Angle together (Pillars placed on the 70.5° Angle will be "invisible" and give you a smooth outer Wall without Bumps!) - Do that for all 3 Sides(or the 6 Corner Sides) and you got a Tetraeder! To add Floors use the "Tetraeder Floor-Creator" (up to 25 Floors Height... was limited by the Hammers reach!) - Choose any Side & add an Foundation "L" (or whatever) you need a "north-turned" Snappoint, so just add a small Pillar Beam to a Foundation & that will give you the "forward/North-turned Snap" ...the more distance you give this, the easier it is for the hammer to actually find the right snap... (see Screen) - Place normal Pillars on the Scaffolding until you reach the desired Height & add a small Wall, that will allow you to place Ceilings "Inside" - Use thin Pillars on the 70.5° Sides as Glue to hold the Floors (i would glue them into the Corners, but up to YOU ofc!) - Remove all Scaffolding Fill/close them however YOU like, just know, since its ONLY Triangle Ceilings, the Numbers add up QUICK! To close the Gap between the Ground and the Floor, you can snap ramps to the 70.5° and use "Triangle-Roof-Corners" to close this perfectly (like its made for This) I have one standing around my Well on Ragnarok for over a year now & its just n0ice, i think! PS: choose ONE Floorplate(Orientation)! ... for example: a "north turned" build triangle floor cant/wont connect to "different turns" of Triangles, thats why i didnt release "Tetraeder Corners", the 3 Floors wouldnt want to connect without extra Pillars, soo try ur best & keep it all "ONE BUILD Direction" to avoid support issues! Enjoy building YOUR own 70,5° Tetraeder's!
 Deko6
 Funktional6