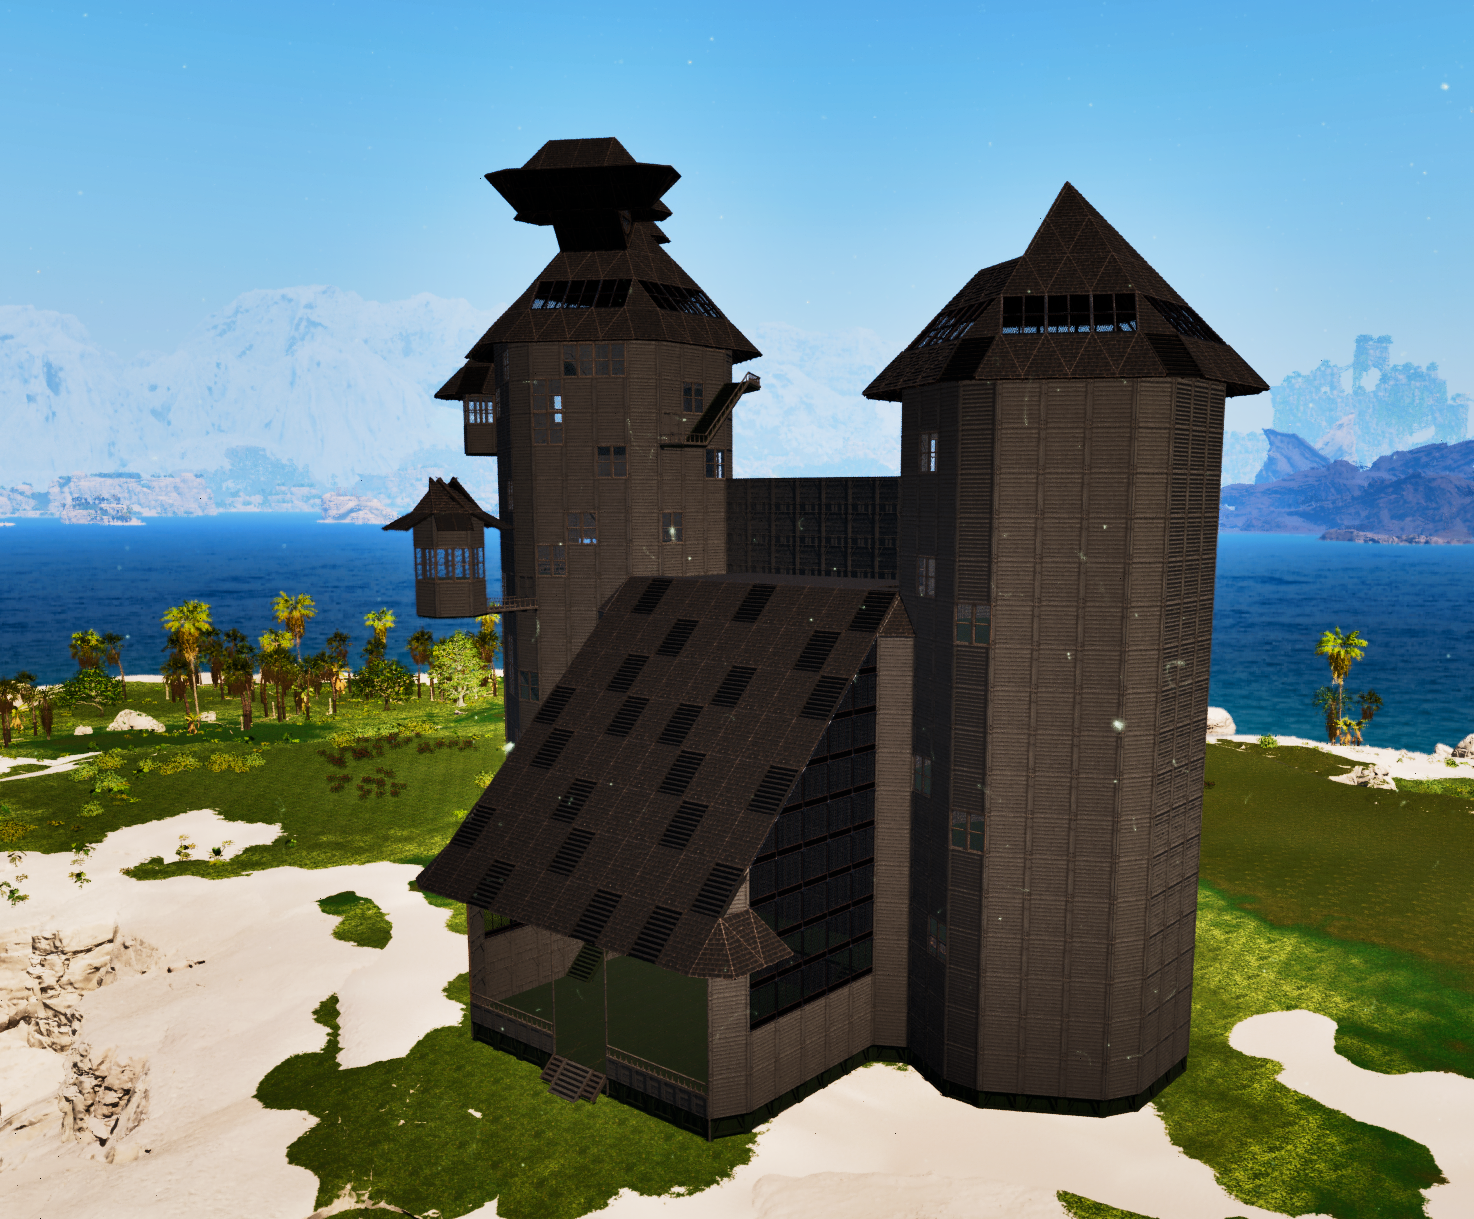
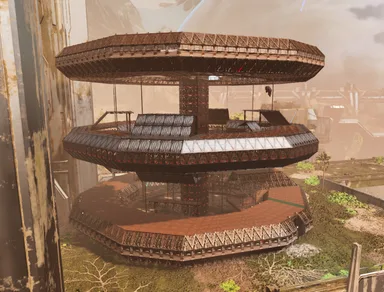
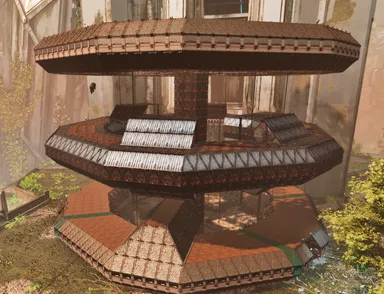
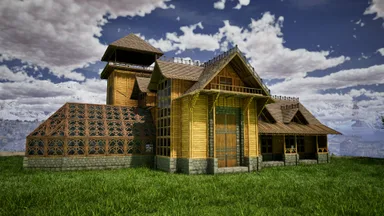
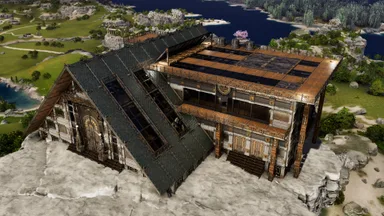
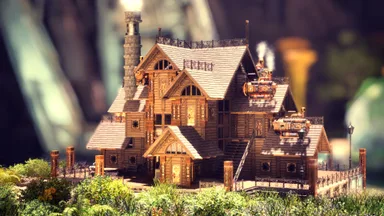
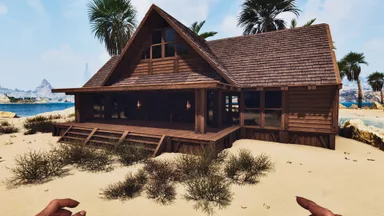
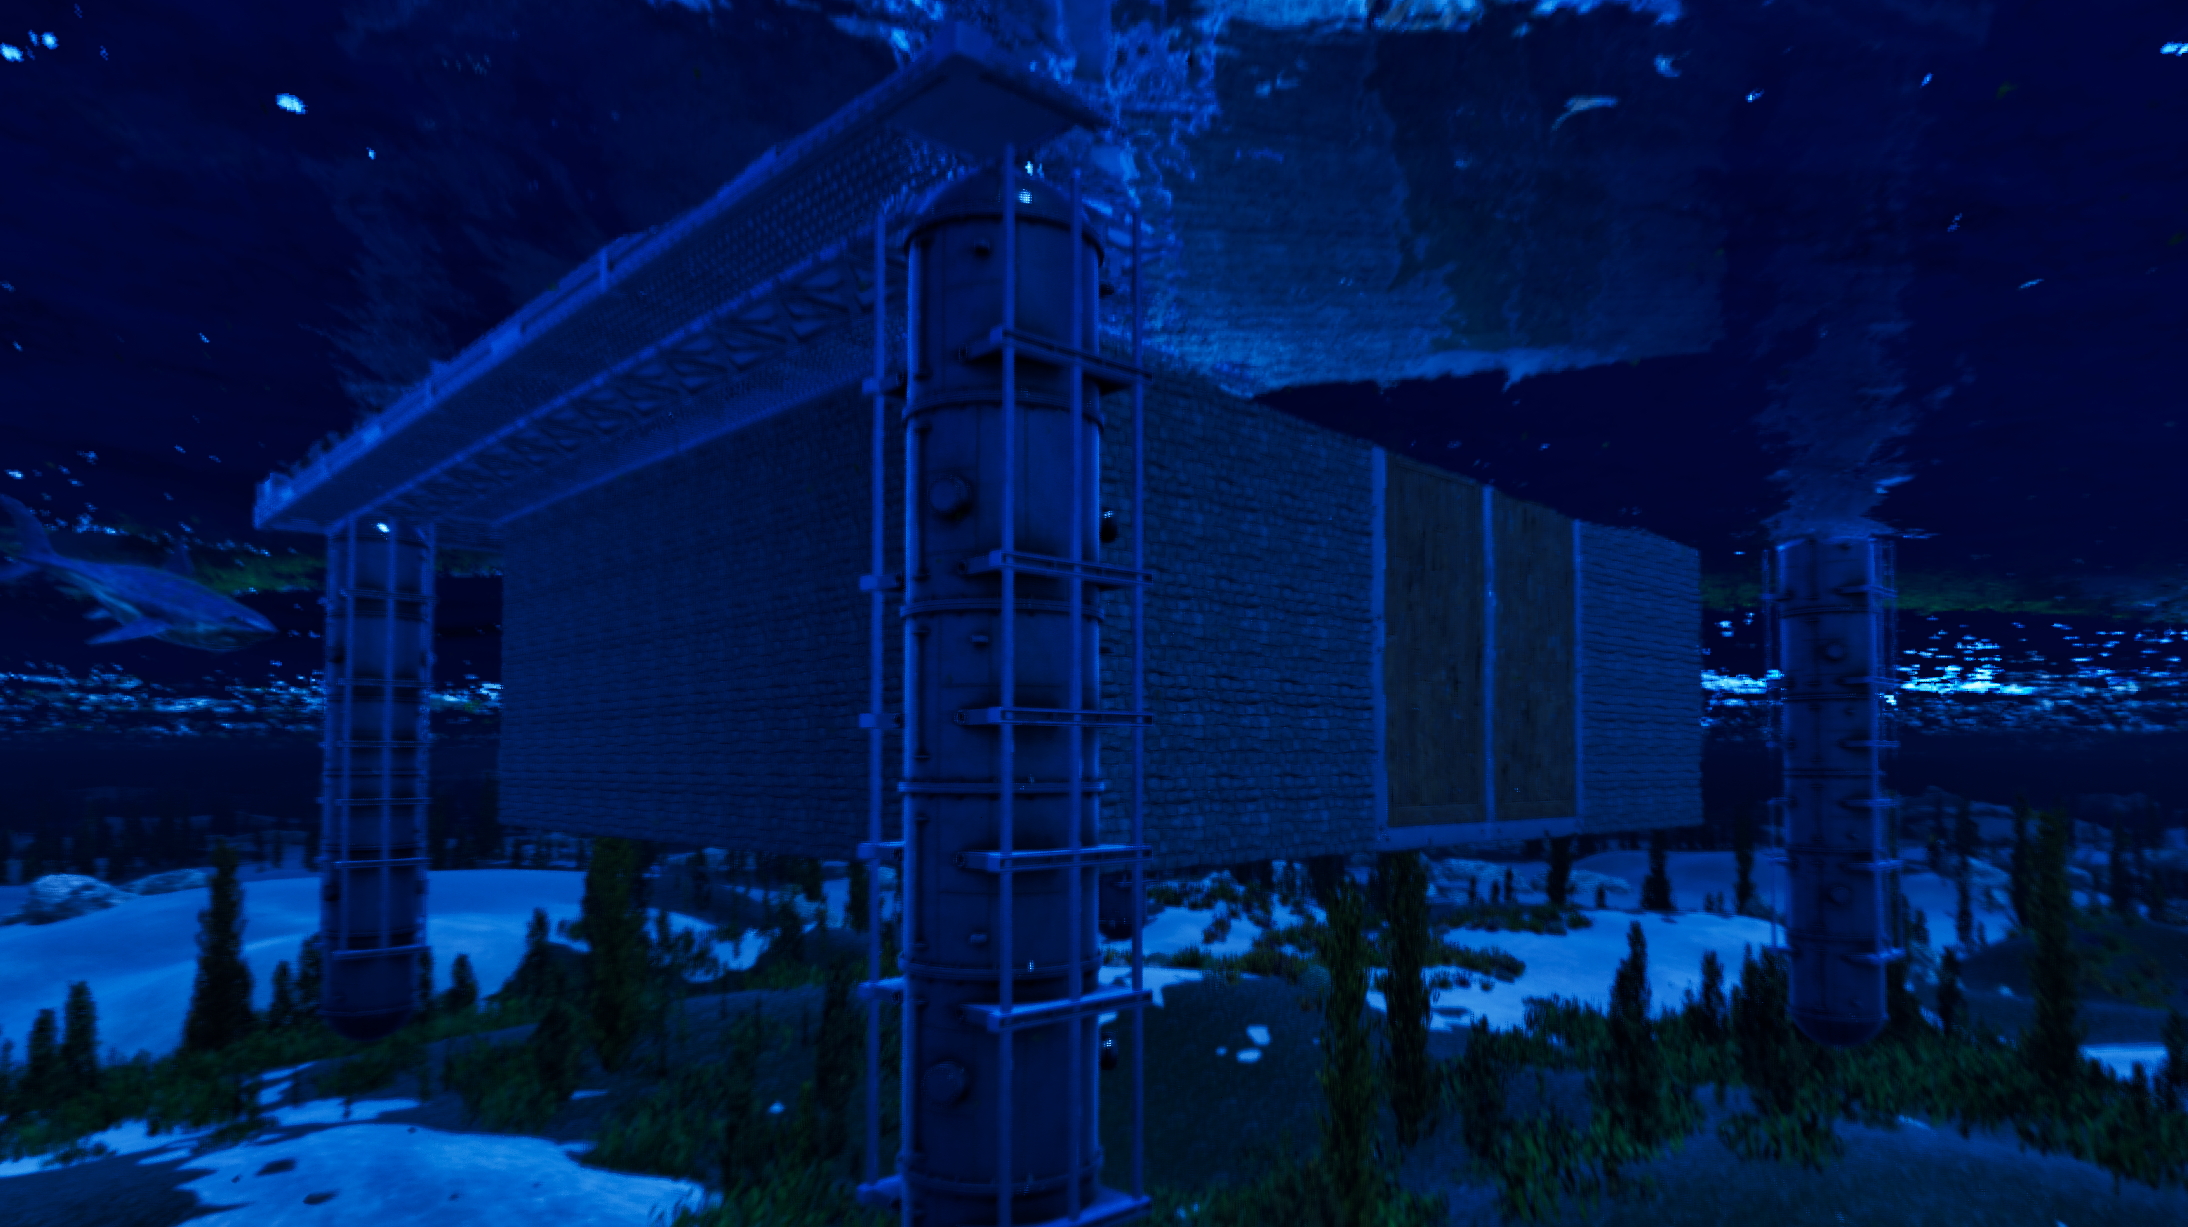
As the title says its an aquatic breeding pit w/ a behemoth barn door for metal ocean platforms.
This can fit at least 2-3 mosas, or 2 mosas 2 tusos
Few notes and warnings:
I lagged when trying to place the template down, could have just been me.
Keep your feesh away from water surfaces, especially on maps like Astraeos & Genesis Part 1. Wildcard plans on adding the dynamic water from Gen1 to all maps with a decently sized ocean, and the DW likes to steal your feesh from you, so... just keep em away from the surface...
This build is primarily meant for players who like grinding, theres LOTS of wood and greenhouse structures so... Have fun!
Pics 1 and 2 show the Patio(P1) and the Greenhouse/pool(P2), the closest tower is the "Right Tower", and yes, you have to place it in this specific way.(the tower placements I mean)
TCMCK Center, houses greenhouse, pool, and patio w/ a central walkway between the two towers. Start here, end wherever you feel like.
TCMCK Left Tower, Larger tower in the Build, Place to the LEFT of the "Center" Template(Left looking at the Patio)
TCMCK Left Tower Roof, I attempted to get it to properly work in the template for the LT, but it refused to stay in the template, despite it grabbing the roof when I copied.
TCMCK Right Tower, Smaller tower in the Build, place to the RIGHT of the "Center" Template(Left looking at the Patio)
TCMCK Right Tower Roof, I attempted to get it to properly work in the template for the RT, but it refused to stay in the template, despite it grabbing the roof when I copied.
Tested and functional in Single Player and my personal cluster, The Veridian Isles(PVE).
Skins and Paint:
PC controls below; console controls may differ.
HOLD E to apply skins as structures are built. Do NOT use the “Apply Skins” Feature, I know it says "Template Skins" but this applies Frontier(or any) skins to the entire build indiscriminately. Hold E(or the console equivalent button) and let it apply skins during construction to preserve my original skin design.
You may need to finesse some structures during placement.
Placing the Towers:
Place 10 foundations connecting the tower template's walkway to the Center template's central walkway (between the greenhouse/pool and patio).
Rotate and/or flip the tower until the doorway and walls align correctly.
For the Towers, I tried six rotations before finding the correct snap point on the seventh attempt. I flipped it once and looked at the center foundation of the three connected to the Center's central walkway. Your results may vary. Be sure to remove the pillar in the middle of the template at the top of the larger(Left) Tower.
Switch the Template Hammer to Alter Mode, then disable the 10 temporary foundations.
You can now build from the aligned template.
Auto-Build:
Auto-Build may report missing structures. This is expected:
Left Tower: 1,667/1,677 structures
Right Tower: 1,361/1,371 structures
Select Complete. Do NOT click apply skins when it asks you after; apply them as structures are built (see above).
The rooves are separate templates.
Left Tower Roof:
Go to the top floor and reach the second set of stairs before the attic.
Look across at the top of the center wall. A greenhouse wall should be immediately to its left, touching a corner.
Enter Orbital Camera on PC (IIRC, Orbital is a temporary or non-existent thing on console).
Rotate the template until all roof corners cover the tower's edges.
The correct placement should be Snap Point #18. If needed, place a few ceilings and try attaching the roof template to them until all edges are covered.
Right Tower Roof:
Place triangle ceilings on the roof facing the Left Tower/Center building, then stand on them.
Face away from the Left Tower/Center building.
Look toward the pointed edge of the center triangle ceiling, near the side touching the third triangle ceiling from the left.
Use the row with 7 triangle ceilings across, not the row with 5.
I got it after a few attempts on Snap Point #2. Reposition yourself as needed.
Manual alternative: Use 12 Wood Triangle Ceilings, 2 Wood Walls, and 4 Wood Corner Walls. Apply Frontier skins to all; the two corner walls above the two regular walls should use Frontier Glass. Finish the pointed top with Wood Triangle Roofs & Ceilings.
Building Location:
You need a flat or mostly flat area with enough room for the entire build.
Originally built around 48, 90 on Astraeos, then rebuilt at 59.9, 36.6 (the exact center of the build, shown in the pictures).
Paint Colors
Colors Used:
Swamp Green: Foundations, tower interior ceilings, stairs.
Gunmetal: Walls and railings.
Black: Roofs and exterior ceilings.
Important: Painting a structure increases its structure-count cost by 6× for you and the server. For example, five foundations with one painted count as "10" structures, as painted bases cost more resources on hardware. Keep this in mind when building.
Final Notes:
The unusual shapes on top are decorative, not required for functionality. They're there to make the build look crooked and strange as it's the Crooked Man's home, after all!
Feel free to change the colors, skins, or create your own rendition. Enjoy my first piece of creativity!(ive never once had creativity in ark lol, so this is my first actually creative build.)
The base itself is located on Extinction at coordinates 49.8, 60.0. Please ignore the paint in the pictures, as those colors were simply markers I used while creating the templates.
If you have yet to complete Ring 1, go there and do that before starting here.
RING 2
Step 10: TEC Ring 2 x2 Bridge Entryways
This one is fairly self-explanatory. However, because ARK is ARK, you'll need to manually place all the floor ceilings and some of the roof pieces.
Step 11: Ring 2 Bottom Ceilings
Again, pretty self-explanatory! You'll need to place the floor ceilings manually, just like you did for Ring 1.
Step 12: TEC Ring 2 x2 Landing Zone A
This is one of the flier landing zones for Ring 2.
Landing Zone A connects to the second landing zone and a bridge entryway.
Step 13: TEC Ring 2 x2 Landing Zone B
This is the second flier landing zone for Ring 2. It connects to the bridge entryway.
Once Ring 2 is finished, you can move on to Ring 3 if you're a madman who somehow enjoys grinds like this.
RING 3
Step 14: TEC Ring 3 x2 Bridge Entryways
Pretty self-explanatory! Place the two bridge entryway sections.
Step 15: Ring 3 Bottom Ceilings
Because the game can't handle most these templates properly, you'll probably need to place the bottom "foundation" ceilings manually, just as you did for Rings 1 and 2.
Step 16: TEC Ring 3 x2 Hallways
Also fairly self-explanatory! Place these hallway sections between the two bridge entryways to connect them.
Rings 2 & 3: https://wikily.gg/ark-survival-ascended/building-templates/templates/3125/
The Eden Citadel is a base originally built on my cluster, The Veridian Isles PVE, by a player who has since quit the game. They gave me permission to turn the build into a template for others to use!
With OVER 7,000 structures, this build is really only for ARK grinders who enjoy a bit of pain... and admins. 😂
This is my first time using the Template Hammer to EXPORT and SHARE a build, so bear with me! The build is split into MULTIPLE parts because, for some reason, I couldn't select foundations beyond a certain range. And, of course, we're dealing with 7,000+ structures using a Template Hammer with a 2,000-structure limit. lol
Due to the sheer number of structures and how the Template Hammer works, you'll need to snap certain pieces together manually. Unfortunately, getting everything to snap correctly can be a real pain with builds this large.
The base itself is located on Extinction at coordinates 49.8, 60.0. Please ignore the paint in the pictures, as those colors were simply markers I used while creating the templates.
A quick note about the parts:
There are A LOT of them!
Ring 1: 9 parts
Ring 2: 4 parts
Ring 3: 3 parts
All parts are labeled with names beginning with "TEC..." to help you identify them.
I'll add links to the additional parts in the comments or the description if I run out of room here. If you only want to build Ring 1, I'll include a separate link for that as well!
MY RECOMMENDED BUILD ORDER
RING 1
Step 1: Build the Foundations
Start with the outer foundations, followed by the inner foundations for Ring 1.
I ran into MANY snapping issues when trying to place templates before the foundations were in place. Honestly, save yourself the headache and build the foundations first!
For the triangle foundations, you can either:
Build 21 triangle foundations away from the first regular foundation.
OR build 7 regular foundations from the first triangle foundation.
Alternatively, follow my advice above and complete both the inner and outer foundation rings before placing any templates.
Step 2: TEC Main Building Ring 1
Start with the main building, or begin with TEC Ring 1 Elevator+EleShaft if you prefer. Personally, I found it easiest to start with the main building and work outward from there.
Step 3: TEC Right Hall (Inner Circle Right)
When standing inside Ring 1 and looking toward the main building, place this section on the RIGHT side.
You may need to place an extra row of foundations to help everything snap correctly.
Step 4: TEC Left Hall (Inner Circle Left)
When standing inside Ring 1 and looking toward the main building, place this section on the LEFT side.
As with the right hall, you may need an extra row of foundations to help with snapping.
Step 5: TEC Ring 1 Elevator Entry+EleShaft
This section connects Ring 1 and provides the platforms and bridges leading to Rings 2 and 3.
WARNING: This template REALLY likes to fight you when it comes to snapping.
My best advice:
Starting from the outermost triangle foundation (the outer ring, NOT the inner ring), count six regular foundations away.
On the seventh foundation position, build a row of foundations leading inward toward the ring.
Remove the six foundations behind that row from the outer ring.
Try placing the template again until you find a position that it will cooperate with.
If you're only building Ring 1, you can skip this step for now and use the Ring 1-only entryway in Step 9 instead.
Step 6: TEC Ring 1 Gate Hall Left (Inner Circle Left)
Place this section to the LEFT of where the gate opposite the main building will be.
Step 7: TEC Ring 1 Gate Hall Right (Inner Circle Right)
Place this section to the RIGHT of where the gate opposite the main building will be.
Step 8: TEC Ring 1 Gate Opposite Side of Main
As the name suggests, place this section directly opposite the main building on Ring 1.
Step 9: TEC Ring 1 Large Entryway (Right of TEC Right Hall)
My best advice:
Starting from the outermost triangle foundation (the outer ring, NOT the inner ring), count six regular foundations away.
On the seventh foundation position, build a row of foundations leading inward toward the ring.
Remove the six foundations behind that row from the outer ring.
Try placing the template again until you find a position that it will cooperate with.
Connect The above section(Step 9) to TEC Right Hall (Inner Circle Right).
Important: Steps 3–9 may require additional foundations to help the templates snap into place. If you're having trouble, don't fight with the templates for hours. Go back to Step 1 and make sure your inner and outer foundations are in place first!
You can also “Skip” 6-8 because I do have a gate+hall version that combines the three, its just harder to snap.
Once Ring 1 is complete, you can stop here if that's all you wanted to build. Otherwise, move on to Ring 2.
Ring 1 P2: https://wikily.gg/ark-survival-ascended/building-templates/templates/3124/
The Eden Citadel is a base originally built on my cluster, The Veridian Isles PVE, by a player who has since quit the game. They gave me permission to turn the build into a template for others to use!
With OVER 7,000 structures, this build is really only for ARK grinders who enjoy a bit of pain... and admins. 😂
This is my first time using the Template Hammer to EXPORT and SHARE a build, so bear with me! The build is split into MULTIPLE parts because, for some reason, I couldn't select foundations beyond a certain range. And, of course, we're dealing with 7,000+ structures using a Template Hammer with a 2,000-structure limit. lol
Due to the sheer number of structures and how the Template Hammer works, you'll need to snap certain pieces together manually. Unfortunately, getting everything to snap correctly can be a real pain with builds this large.
The base itself is located on Extinction at coordinates 49.8, 60.0. Please ignore the paint in the pictures, as those colors were simply markers I used while creating the templates.
A quick note about the parts:
There are A LOT of them!
Ring 1: 9 parts
Ring 2: 4 parts
Ring 3: 3 parts
All parts are labeled with names beginning with "TEC..." to help you identify them.
I'll add links to the additional parts in the comments or the description if I run out of room here. If you only want to build Ring 1, I'll include a separate link for that as well!
MY RECOMMENDED BUILD ORDER
RING 1
Step 1: Build the Foundations
Start with the outer foundations, followed by the inner foundations for Ring 1.
I ran into MANY snapping issues when trying to place templates before the foundations were in place. Honestly, save yourself the headache and build the foundations first!
For the triangle foundations, you can either:
Build 21 triangle foundations away from the first regular foundation.
OR build 7 regular foundations from the first triangle foundation.
Alternatively, follow my advice above and complete both the inner and outer foundation rings before placing any templates.
Step 2: TEC Main Building Ring 1
Start with the main building, or begin with TEC Ring 1 Elevator+EleShaft if you prefer. Personally, I found it easiest to start with the main building and work outward from there.
Step 3: TEC Right Hall (Inner Circle Right)
When standing inside Ring 1 and looking toward the main building, place this section on the RIGHT side.
You may need to place an extra row of foundations to help everything snap correctly.
Step 4: TEC Left Hall (Inner Circle Left)
When standing inside Ring 1 and looking toward the main building, place this section on the LEFT side.
As with the right hall, you may need an extra row of foundations to help with snapping.
Step 5: TEC Ring 1 Elevator Entry+EleShaft
This section connects Ring 1 and provides the platforms and bridges leading to Rings 2 and 3.
WARNING: This template REALLY likes to fight you when it comes to snapping.
My best advice:
Starting from the outermost triangle foundation (the outer ring, NOT the inner ring), count six regular foundations away.
On the seventh foundation position, build a row of foundations leading inward toward the ring.
Remove the six foundations behind that row from the outer ring.
Try placing the template again until you find a position that it will cooperate with.
If you're only building Ring 1, you can skip this step for now and use the Ring 1-only entryway in Step 9 instead.
Step 6: TEC Ring 1 Gate Hall Left (Inner Circle Left)
Place this section to the LEFT of where the gate opposite the main building will be.
Step 7: TEC Ring 1 Gate Hall Right (Inner Circle Right)
Place this section to the RIGHT of where the gate opposite the main building will be.
Step 8: TEC Ring 1 Gate Opposite Side of Main
As the name suggests, place this section directly opposite the main building on Ring 1.
Step 9: TEC Ring 1 Large Entryway (Right of TEC Right Hall)
My best advice:
Starting from the outermost triangle foundation (the outer ring, NOT the inner ring), count six regular foundations away.
On the seventh foundation position, build a row of foundations leading inward toward the ring.
Remove the six foundations behind that row from the outer ring.
Try placing the template again until you find a position that it will cooperate with.
Connect The above section(Step 9) to TEC Right Hall (Inner Circle Right).
Important: Steps 3–9 may require additional foundations to help the templates snap into place. If you're having trouble, don't fight with the templates for hours. Go back to Step 1 and make sure your inner and outer foundations are in place first!
You can also “Skip” 6-8 because I do have a gate+hall version that combines the three, its just harder to snap.
Once Ring 1 is complete, you can stop here if that's all you wanted to build. Otherwise, move on to Ring 2.(Linked in P2)
This is an official PVE compatible base that allows you to bring in resources using the Argento Anky using a cellar door.
It is equipped with a full range of facilities, including an industrial forge and industrial grinder.
The layout has been carefully designed to make it easy to bring in resources and craft, making it extremely user-friendly.
The skin used is the Steampunk skin from the paid DLC, Bob's Tall Tales.
こちらは公式PVE対応のセラードア使ってアルゲンアンキーで資源の搬入が可能な基地です。
インダストリアルフォージやインダストリアルグラインダーなどの設備は一通りそろっています。
資源搬入やクラフトなどがしやすいように配置を工夫して非常に使いやすい設計にしております。
スキンは有料DLC、ボブズトールテイルズのスチームパンクスキンを使用しています。
Welcome to my Steampunk Starter House build in ARK: Aberration Ascended made completely from thatch! This build utilizes Bob’s Tall Tales Structure Skins, with a special focus on the Steampunk Skin to transform a simple thatch house into a unique, immersive base. PLEASE WATCH VIDEO TO SEE WHERE TO APPLY SKINS.
Whether you’re new to ARK: Survival Ascended or just looking for some inspiration, this steampunk starter house is the perfect blend of style and practicality.
All wood bunkhouse with loft and green house. Room for plenty of tribemates and equipment. Skinned in Frontier skins and lit with Frontier oil lamps and chandeliers.

 Bases